Room décor is a defining factor for many houses, apartments and dorm rooms. When it comes to choosing the right decorations, it helps having a store that is dedicated to making each home perfect. Buckhead is the home of Waiting on Martha, a home décor store that can bring something special to any room.
Unfortunately, if this store had to be rated on a money sign scale, it would be rated with three or four. Most college students don’t even have one money sign to spare, so here are three DIYs inspired by items sold at Waiting on Martha for $15 or less.
Pom-Pom Basket: The cutest way to store your belongings.
Sold for: $91
DIY price: $10-$15 (Price of basket will vary)
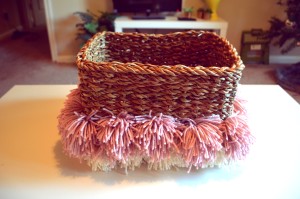
Materials: A Woven basket, Yarn (any color) and scissors
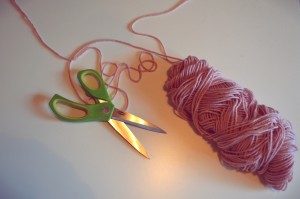
Step one: Start by taking the yarn and wrapping it around your hand. You can wrap it around as many times as you want to make the pom-pom as thick or thin desired.
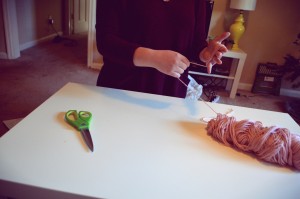
Step two: Take a different piece of the yarn and tie it around the middle of the loop of yarn you’ve just created. This should look like a number eight.
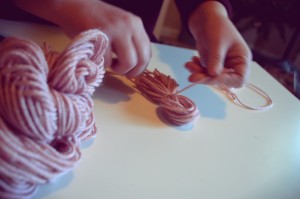
Step three: Cut the top and bottom of the yarn “eight”. This will make the pom-pom.
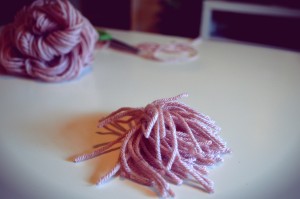
Step four: Take the pom-pom and tie it to the basket with another piece of yarn. You may need to use a pencil to push the ends of the string towards the inside of the basket.
Step five: Tie the ends of the string together to secure the pom-pom to the basket.
Step six: Continue doing this all the way around the basket.
**** Tip: You can create one single line around the basket or create several different rows.
~~~~~~~~~~~~~~~~~~~~~~~~~~~~~~~~~~~~~~~~~~~~~~
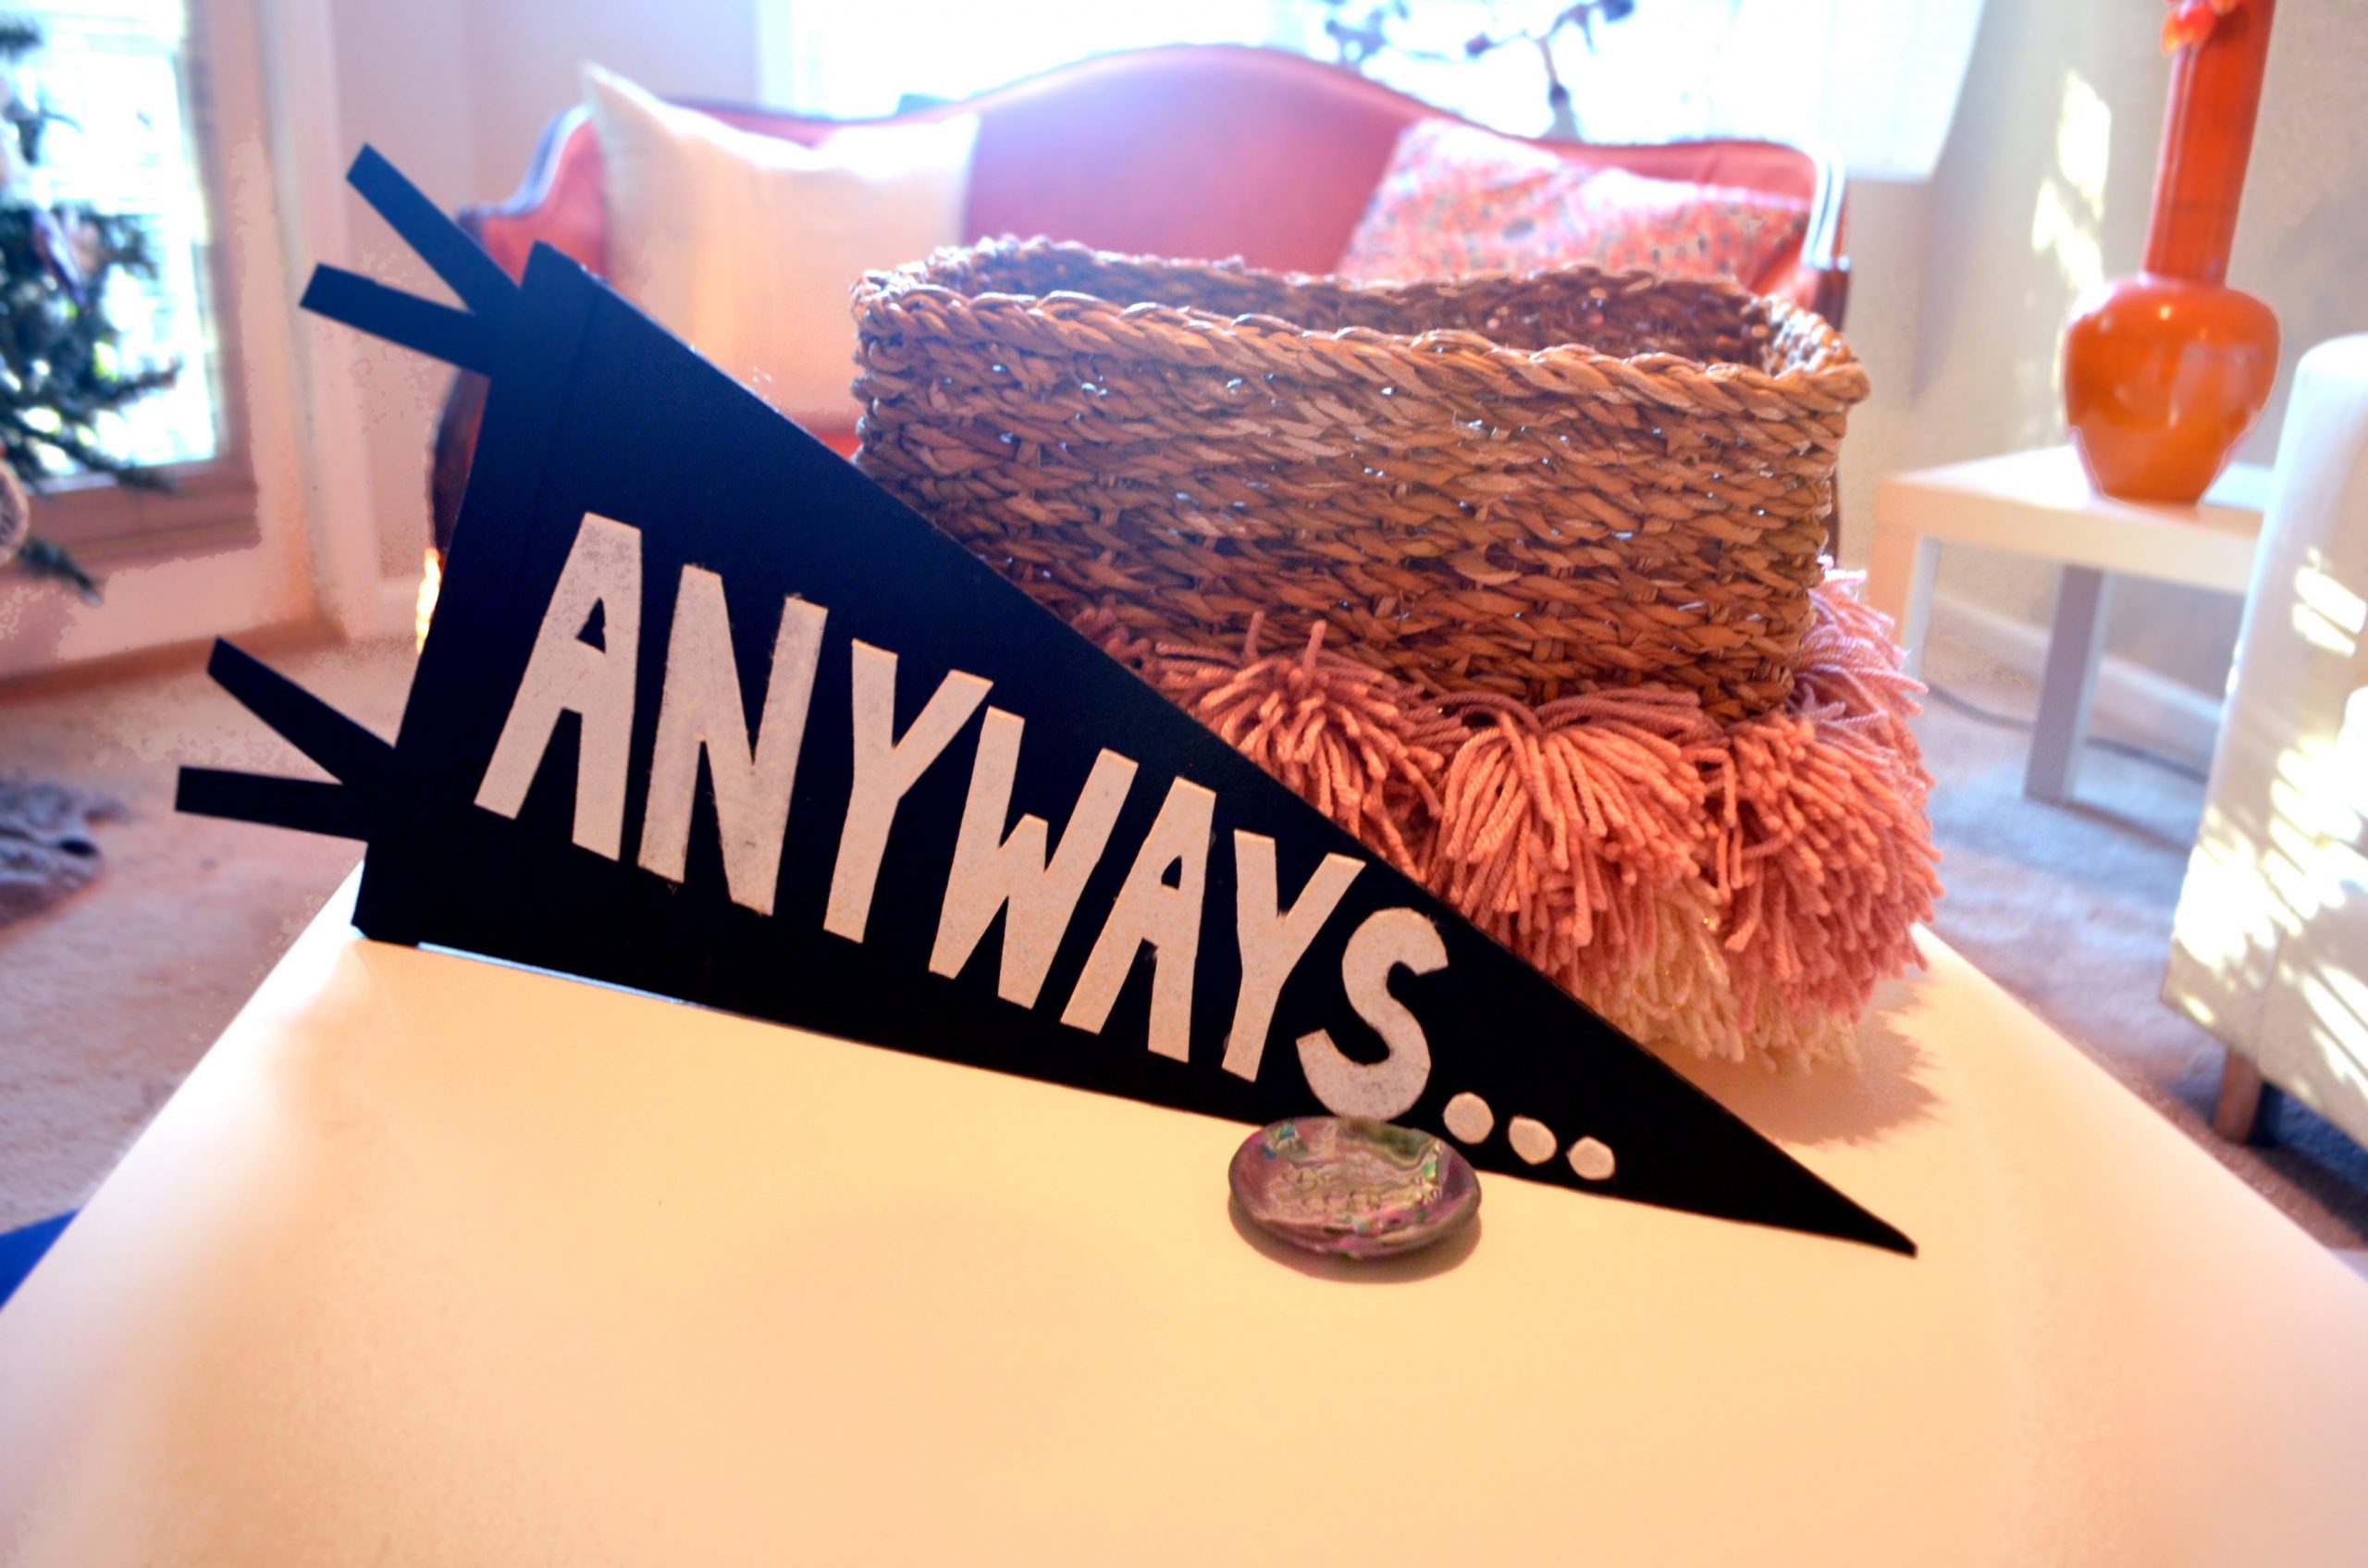
Felt Pendant: A sporty-ish way to add a statement to any wall. Get creative.
Sold for: $28
DIY price: $6 (Not including optional stencils or glue gun)
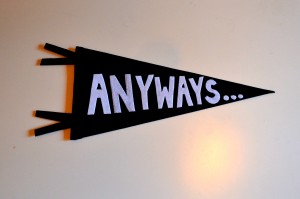
Materials: Three large squares of felt / pre cut felt pendants, scissors, hot glue or fabric glue and letter stencils (optional)
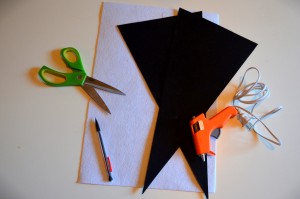
Step one: Start with two large squares of felt that are the same color and cut them into the shape of pendants. They can be any size you want, but I recommend 9 inches by 18 inches. You want there to be two pendants in the same color.
*** Tip: This is where you can use the pre cut felt pendants
Step two: Next, take the third piece of felt, which is a different color, to create the letters.
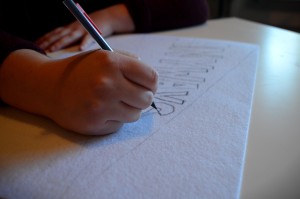
**** Tip: Lay the pendant onto the third sheet and trace it using chalk or a pencil. It will help when you sketch the letters out to make sure they will fit on your pendant.
Step three: Using the chalk or pencil sketch out the letters or saying onto the third piece of felt. And then cut them out.
Step four: Glue your two pendants together.
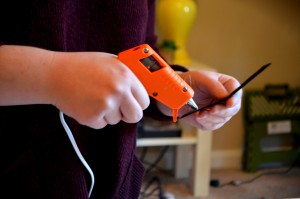
Step five: Using any scrap material that is the same color as the pendant, cut out four strips. You will then glue two to the front and two to the back on the flat end of the pendant. Each pair should create a “V” shape.
Step six: Then using the same scrap material, cut out two more strips that are the same length as the flat end of the pendant. You will glue one strip to the front and one to the back to cover the bottoms of the “V” shapes.
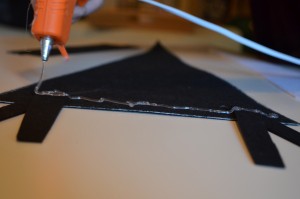
Step seven: Lastly, glue on your letters.
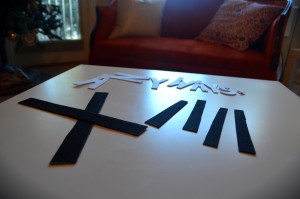
*** Style Tip: You can hang then onto your wall using Velcro tape or create a garland with them by pinning a string to the wall and clipping the pendants up with clothes pins.
~~~~~~~~~~~~~~~~~~~~~~~~~~~~~~~~~~~~~~~~~~~
Clay Ring Bowl: What’s cooler than a personalized ring dish? Nothing.
Sold for: $12-$18
DIY price: $4-$12 (Depending on how many colors used)
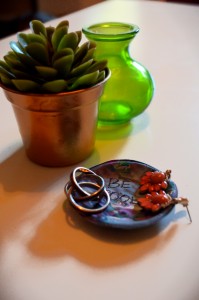
Material: Bake-able clay (any color), Oven safe bowl, Knife, Push pin or paper clip
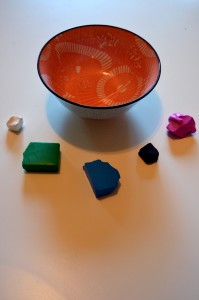
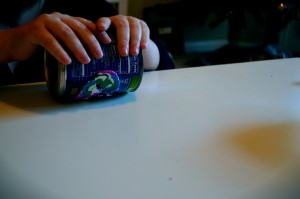
Step one: Roll out your clay so it is flat and about half an inch thick.
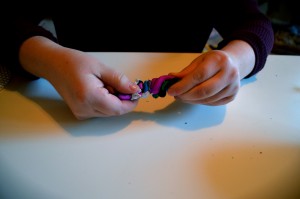
**** Tip: Use more than one color by braiding and twisting them together to create a marbled look
Step two: Use a cup or another round object to create a circle and cut it out using the knife.
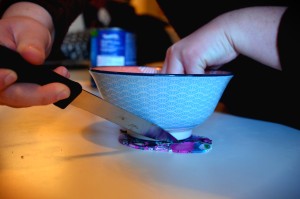
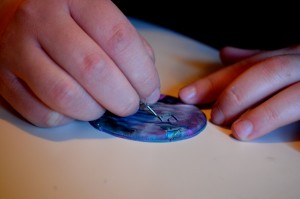
Step three: Use the pushpin to write or draw something into the clay. Make sure that it is fairly deep but not so deep that it goes through the other side of the clay.
Step four: Put the clay inside of the bake-able bowl at 215 degrees for 15-20 minutes. If your clay comes with directions follow those.

Step five: When the clay has finished baking, crack the oven door and leave the bowl inside until it is cool enough to take it out with your hands.
Step six: Remove the clay from the bowl carefully so you don’t break it.
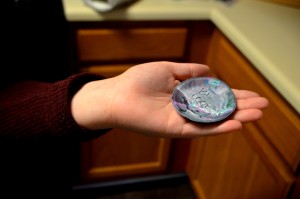
***** Tip: you can also use paint to make your words stand out or line the rim of the ring bowl.
This décor store is currently a pop-up shop but founder Mandy Kellogg Rye is currently working on making the store permanent. All of their products can be found on waitingonmartha.com.
