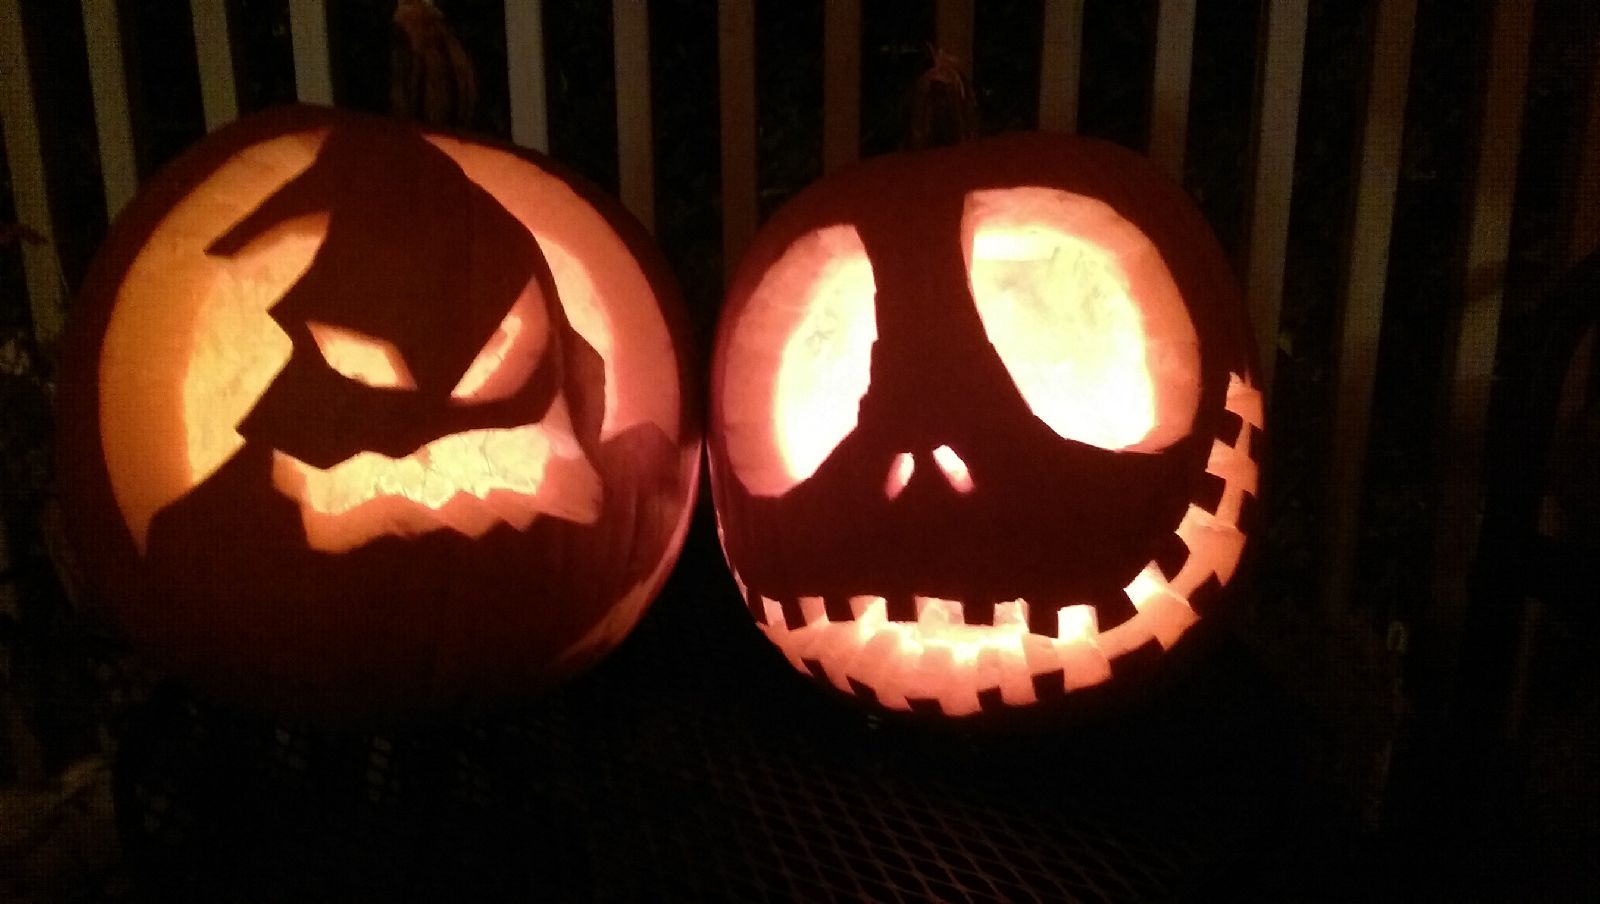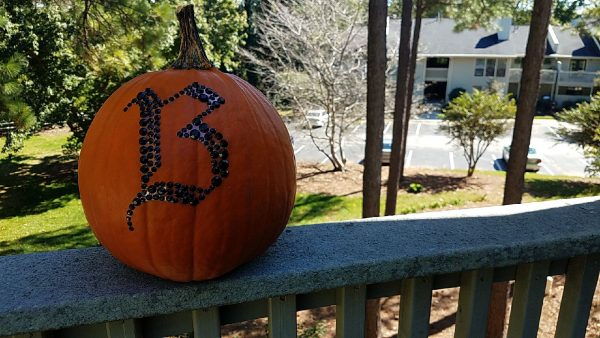
Those in need of a little inspo have come to the right place for easy—Pinterest-approved—DIY ideas for decorating your pumpkins this Halloween.
Pumpkin protocol:
- Pick your pumpkin’s size according to how you want to decorate it. The bigger the better, but here’s a solid tip: it’s a winning pumpkin if you can fit your entire hand on one side.
- Find healthy orange pumpkins with hard exteriors and consistent coloring. If the pumpkins are yellow or even green, that’s OK! That just means those pumpkins are seasonal varietals and might not be best for carving. They are usually smaller than their orange friends, but anything works with DIY!
- Have fun with it! Mix and match ideas to your abilities and strive to make your pumpkin reflect your personality. Halloween only comes once a year!

The basics of carving a pumpkin
I suggest taking your pumpkin outside to carve, but if you want to do it inside just make sure you have something to contain the mess.
On the top of the pumpkin, draw a circle around the stem where you want the lid to go. Make sure the circle is big enough for you to fit your hand into. Cut out the lid and use a spoon or your hands to scoop out the pumpkin guts. Wipe down the inside and outside with paper towels so you have a clean surface to work with.
No need to wield a giant knife
Sharp utensils can risk injury to yourself and others, especially if you live in the dorms and don’t have a proper carving knife. No-carve pumpkin ideas are for everyone. Your pumpkins last longer and you can also decorate them with fun faces and patterns. It’s all up to you! Just be sure to always clean your pumpkins before decorating them! Here are a few examples:
Glitter Pumpkins
Spread a layer of white glue over the surface. Place the pumpkin on a paper plate or newspaper to catch excess glitter. Sprinkle powder glitter over glue, covering the surface completely. Let it dry for an hour, then shake off excess powder. Pick out an acrylic paint color of your choice to paint the stem. Let your pumpkin dry before picking it up to put on display!

Painted Pumpkins
Acrylic-based paints, markers and oils work best on the surface of pumpkins. If you don’t have access to these supplies, try spray paint! Free-hand your designs or use tape to line your shapes and faces evenly. Let it dry overnight for the best results. Or, let it dry for a few hours and then decorate with glitter! The acrylic paint will act as the glue (see above).
Idea: Paint your entire pumpkin black. Let it dry. Add white designs with a chalk pen to give it a spooky effect. Glue or stick rhinestones on if you’re feeling snazzy!
Animal Pumpkins
Hold your pumpkin by the stem and spray paint or hand paint the entire surface area. Allow pumpkin to dry, and then apply a second coat. Stand and let dry for at least 24 hours. Create any animal’s ears of your choosing by tracing two triangles on a piece of construction paper. Cut out. Create a flap on each triangle by making a ¼-inch fold on the longest side of the triangle. Size your ears bigger for larger animals. Cut a slit in the middle of each flap so the ears will sit on the rounded pumpkin. Glue or tape ear flaps on either side of the stem. Break out the chalk and draw the face.
One of the best things about being at college during the Halloween season is that you now have the ability to creatively express your spooky skills. Whether you create a happy, angry, eccentric face, or a glitterfied vampire dog, the choice is now yours!
