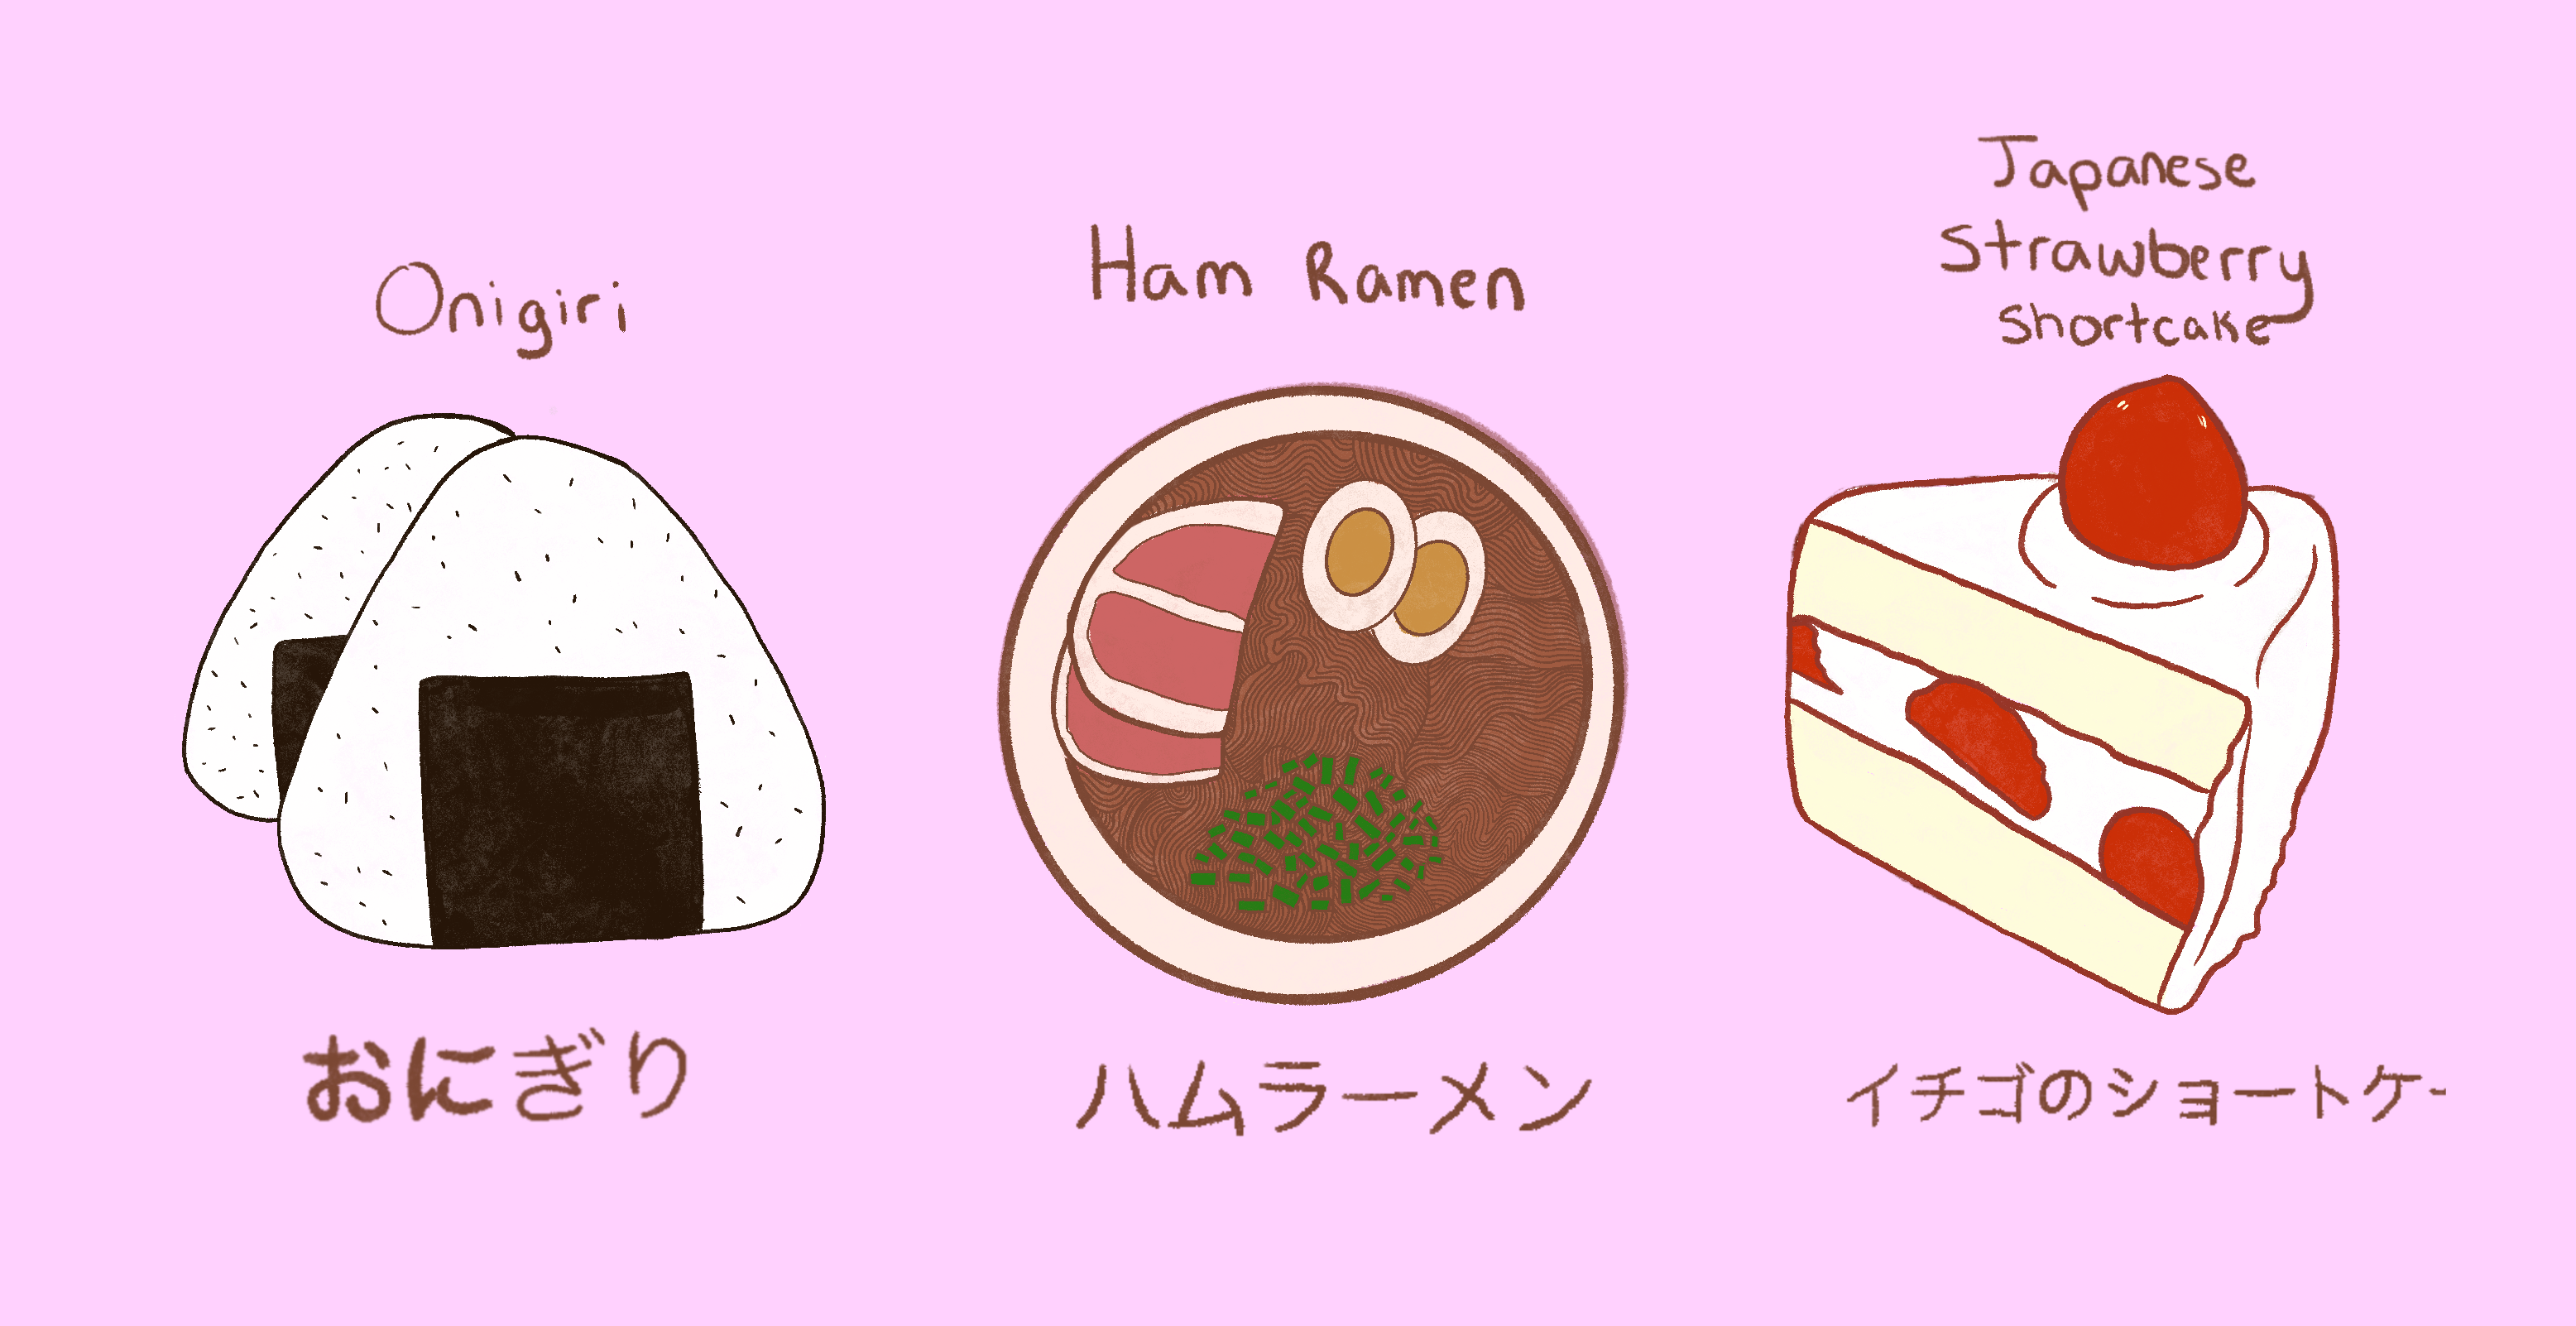
Japanese Strawberry Shortcake:
Prep Time: 10 minutes
Cook Time: 1 hour
Ingredients:
Sponge cake
- 3 eggs
- 3/4 cup sugar
- 1/2 cup plain flour
- 2 tablespoons plus 2 teaspoons of milk
- 1/4 stick of unsalted butter
Syrup
- 1/4 cup water
- 2 tablespoon sugar
Decoration
- 1 cup fresh whipping cream
- 1 tablespoon, plus 1 teaspoon of sugar
- 1 carton of fresh strawberries
Instructions:
- Heat the oven to 340 degrees Fahrenheit. Line a 7-inch round cake tin with parchment paper and set it aside.
- Separate the egg yolk and egg whites. Place the egg whites in an electric mixer and gradually (at three different times) add the sugar into the mixer bowl.
- Beat the egg whites and sugar until stiff peaks form. Combine the egg yolks through the egg white mixture.
- Fold the sifted flour through the egg mixture three to four times.
- In a small bowl, mix the milk and melted butter together. Take a small amount of the egg white mixture, put it into the milk and butter bowl and mix, and then add it into the egg white mixture and mix it all.
- Pour the mixture into the 18-centimeter-lined round cake tin. Bake for about 40 minutes or until cooked when tested with a skewer. If a skewer comes out clean, the cake is ready. Turn the oven off and remove the cake tin.
- Drop the cake tin onto the kitchen bench from 10 centimeters (4 inches) high. Cool it in the tin for 5 minutes, then turn onto a wire rack upside down. Turn it back and remove the parchment paper. Let it cool completely.
- Wrap the cake with cling wrap and leave it at room temperature overnight.
- Slice the cake horizontally into one slab
- Combine water and sugar to make syrup. Brush the syrup on the two cut sides of the cake. Whip the cream and spread it on both sides of the sponge cake.
- Decorate with sliced strawberries and spread more whipped cream over the strawberries. Top with the other side of the cake and spread whipped cream over the whole cake.
- Decorate with strawberries and raspberries or your choice of decorations.
(Recipe from Chopstick Chronicles)
Onigiri – Japanese Rice Balls:
Prep Time: 30 minutes
Cook Time: 30 minutes
Ingredients:
For Steamed Rice
- 2 cups uncooked Japanese short-grain rice
- 2 1/2 cups water
For Making Onigiri
- kosher/sea salt
- 4 sheets nori (seaweed)
- Toasted white and black sesame seeds to garnish
For Salted Salmon
- 1 fillet salmon
- Kosher/sea salt
Instructions:
To Prepare Steamed Rice:
- Prepare steamed rice. You can also cook short-grain rice with a rice cooker, an instant pot or a donabe. In a large bowl, gently wash the rice in a circular motion, and discard the water. Repeat this process about 3-4 times. Let the rice soak in water for 30 minutes. Transfer the rice into a sieve and drain thoroughly for at least 15 minutes.
- In a heavy-bottom pot, combine the rice and water. Cover the lid and bring it to a boil over medium heat.
- Once water is boiling, turn the heat to the lowest setting and continue to cook covered for 12 to 13 minutes or until the water is completely absorbed. Between 12 or 13 minutes, take a quick peek. If there is any water left, close the lid and continue cooking for another minute until completely evaporated.
- Remove the pot (with the lid on) from the heat and let it steam for another 10 minutes. On a large plate or baking sheet lined with parchment paper, transfer the rice.
- With a rice scooper, fluff the rice. Let the cooked rice cool a little bit until you can hold rice without burning your hands. However, do not let the rice completely cool down.
To Prepare Onigiri Filling (Salmon)
- While rice is soaking and draining (45 minutes), prepare the onigiri fillings.
- Salted salmon filling: Sprinkle kosher salt on both sides of the salmon fillet. Bake at 425 degrees Fahrenheit in a toaster oven or oven for 10 to 20 minutes. Japanese salted salmon is cooked until well done (more dry and flaky).
- Break the cooked salmon into flakes and set aside.
To Make Onigiri
- Cut the nori sheets in thirds. First, wet hands with water to prevent the rice from sticking to your hands. Then put some salt in your hands and rub to spread all around your palms.
- Scoop out a handful of warm rice (about 1/3 cup) into one hand. Create a small indentation in the center of the rice. Put one kind of filling (about 1-2 teaspoons) inside. Then mold the rice with your hands around the well to cover your filling completely.
- Press the rice around the filling to gently form the rice into a triangle. Use three fingers (thumb, index finger, middle finger) to make a triangle corner. Your hands should be just firm enough so that the onigiri doesn’t fall apart. You don’t want to squeeze the rice too tight.
- Wrap the onigiri with nori seaweed and enjoy.
(Recipe from Just One Cookbook)
