As college students keeping up with trends and making sure that everything we own is in good shape can be hard. Sometimes things break or go out of style and our pockets are less than capable of purchasing new ones. So here are a few ways to upcycle almost anything.
Fixer-upper
When things break getting a new one can be nearly impossible when you have no money. So here are a few ways to fix what you’ve broken.

Photo by Alex Garcia | The Signal
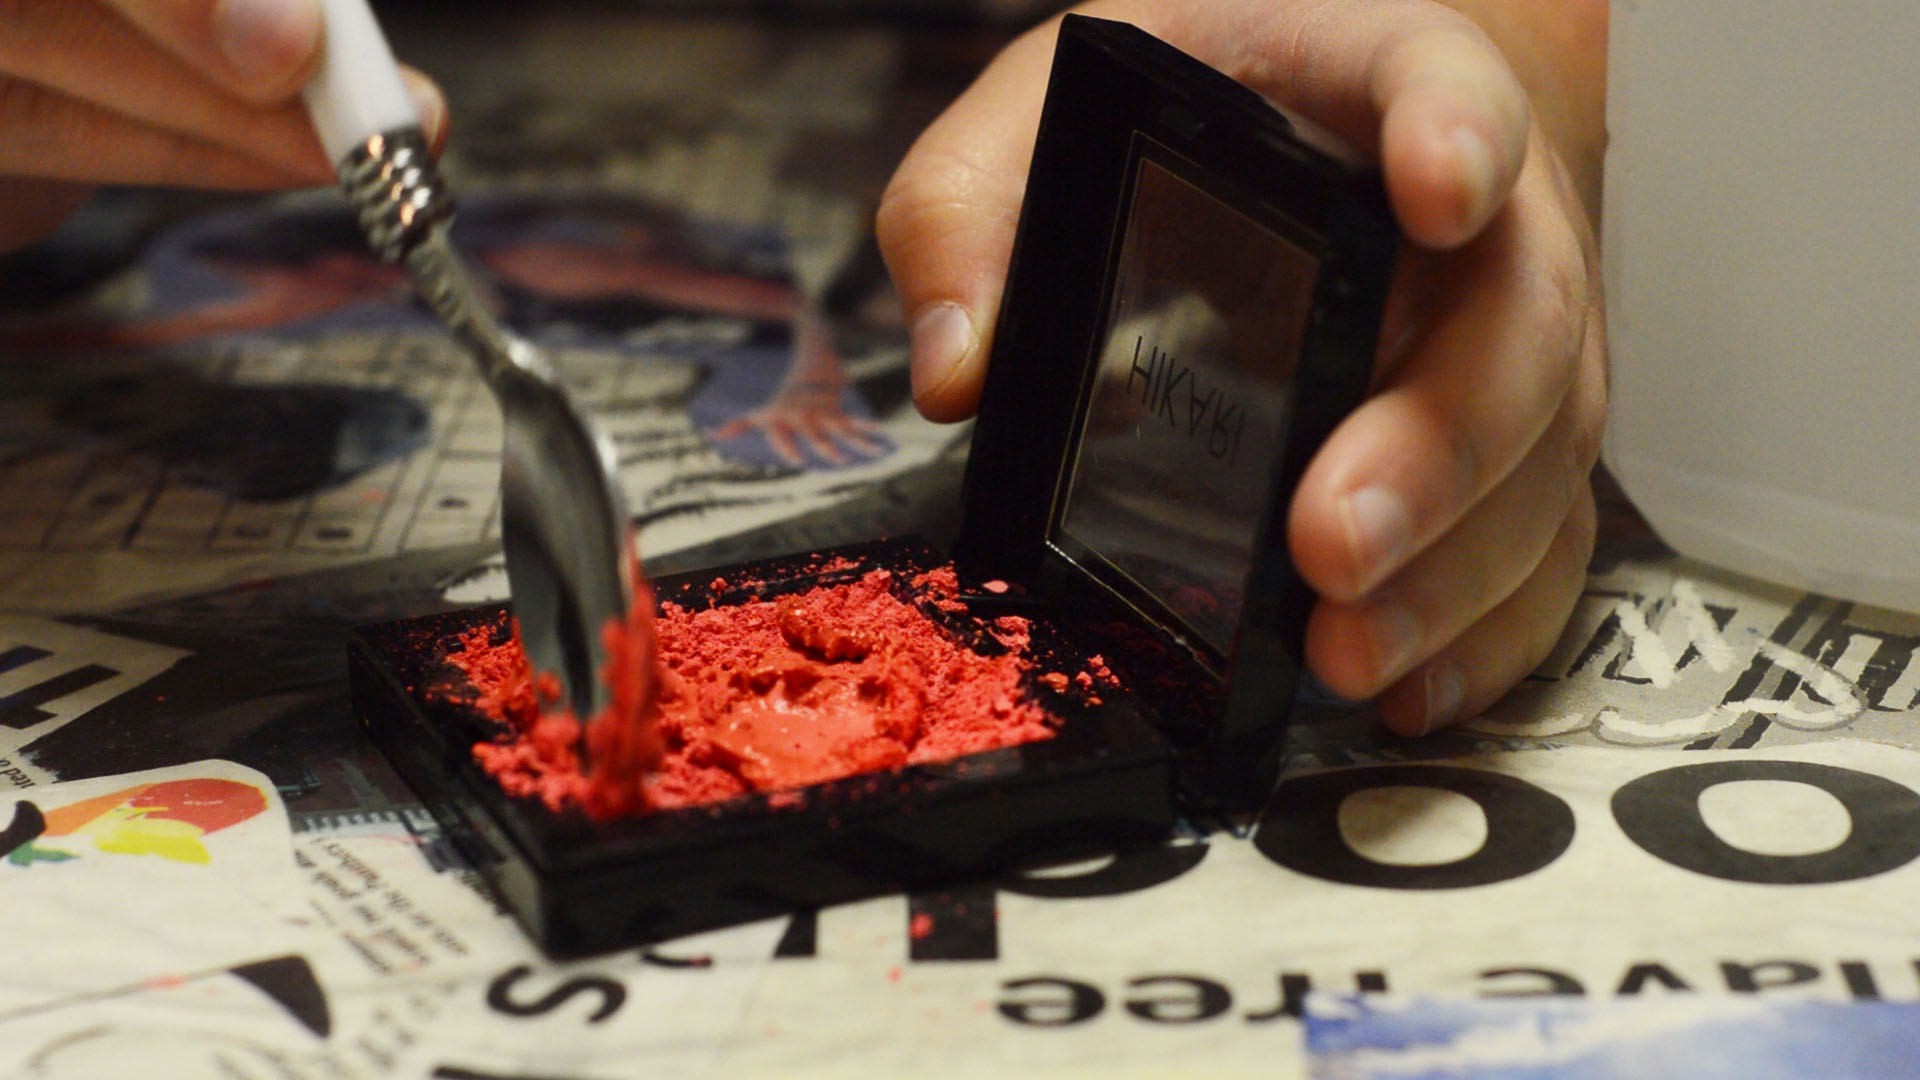
Compact makeup: For all the eye shadows, blushes, and face powders that have stained the inside of your bag, here is how to fix them.
Step one: Mash all of the powder up, but be careful because it can get pretty messy.
Step two: Add a rubbing alcohol to the powder, but just do a little at a time to make sure you don’t make it too liquidy.
Step three: Smooth everything over using the back of a spoon and then let it dry.
—-
Lipstick: Put your favorite lipstick in its place.
Step one: If your lipstick has broken in half, use a light to melt the bottom of the top that has broken off and the top of the part that is still in the tube.
Step two: Before the melted lipstick has dried, put the two heated ends together and hold it together as it cools.
—-

Photos by Alex Garcia | The Signal
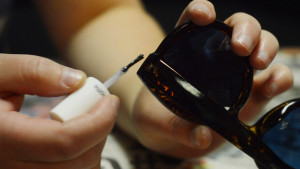
Sunglasses: An easy fix for loose glasses in one step.
Step one: Add a dab of clear nail polish to the hinges on your glasses to tighten them.
—-
Zipper: Unjam a stuck zipper with one product.
Step one: Use a cotton swab to apply petroleum jelly to a zipper that is jammed.
————————–
Repurpose
A few cheap ways to give something a new purpose.
- Store up: Use old coffee creamer bottles as containers. Fill them with candy, baking ingredients and whatever else will help you around the kitchen.
- Cut and Clip: Cut the clips off of old clothes hangers to use as clips to close chip bags.
- Sealed: Reuse containers that held lunch meats by washing them out and use them a Tupperware.
- Sauced: Wash out old pasta sauce jars and use them as plant pots. You can fill them with dirt and succulents for a cute addition to any room.
- Light the way: Remove wax from finished candles by pouring boiling water into the candle to melt the wax. As it cools the wax will rise to the top (you may have to repeat this to get all the wax out). Then use the container to hold cotton balls or other items in your bathroom.
- Reflecting table: Place a large old mirror onto a coffee table that you already own to create a new look. Make sure that the mirror is not too big or too small for the table.
- Drawer basket: Use an old drawer as a basket for bathing suits, blankets or DIY supplies.
————————–
Upcycle
How to make anything old look new again.
Whitewash: Give your wood furniture a light layer of white color.
Step one: Sand down the wood and use a damp cloth to wipe it down.
Step two: Mix together the white paint with water. You want the mixture to be a bit runny.
Step three: With a paint brush, paint on the paint-water mixture. Then quickly take a dry cloth to wipe the paint off. It seems a little backwards to do this but it will give the wood a white color while allowing you to still see the grains in the wood.
—-
Shadow Box Table: Give your table a touch of you without cluttering the top. (This can only be done on tables that allow you to take the legs off and screw them on upside down.)
Step one: Remove the legs of your table.
Step two: Flip the top of your table upside down and paint the whole thing.
Step three: Once the paint is dry, screw the legs back onto the table. But this time make sure the bottom of the table is now the top.
Step four: The top of your table should now have a deep inside. You should be able to fill it up, almost like you could with a drawer.
Step five: Fill the inside of the table with cute pictures and knick-knacks.
Step six: Place a piece of glass that is cut to the size of the table on top of the table.
** Tip: You could also use a large, empty picture frame for the top.
—-
Flared out: A cute way to add a layer of lace or ruffles to the bottom of your shirt.
Step one: Measure a piece of fabric to be the same length around your body as the shirt.
Step two: Take the piece of fabric and place it in the shirt how you would want it to lay. Trim down and excess fabric so that it is seamless all the way around.
Step three: Using fabric glue or sewing, attach the fabric to the bottom half of your shirt. You want to make sure that you are attaching it to the inside of the shirt. It can be helpful to turn the shirt inside out when you do this step.
**Tip: You want to make sure that the fabric hanging from the bottom is no more than three inches in length when it is hanging out.
**Tip: Make sure that seam on the fabric comes together at one of the sides for the most unnoticeable look.
**Tip: Make sure that you do not cut the part of the fabric that is hanging out from the bottom. You don’t want the material to fray making it look unfinished. You can also create a makeshift seam by folding the bottom of the fabric under and gluing or sewing it.
——–
Don’t spend money you don’t have on items that can be fixed up. Follow these tips and be a lean, mean, fixing machine.
