The only friend a person can count on is the furry, shaggy, or short-haired that licks their hands and is there for a good snuggle. Dogs are undoubtedly cute, but they are also undoubtedly the one creature that will not pass judgement for anything you do or say. Their eyes don’t have room to hold judgement, when filled with exponential love and sweetness.
Since having a dog as a pet is the closest way for a person to feel unconditional admiration and adoration, dogs deserve a few presents for their open-minded demeanor, do they not? These DIYs are just a few ways to show your playful pal just how much you love him or her, and just how grateful you are for them.
Pooch Clothing

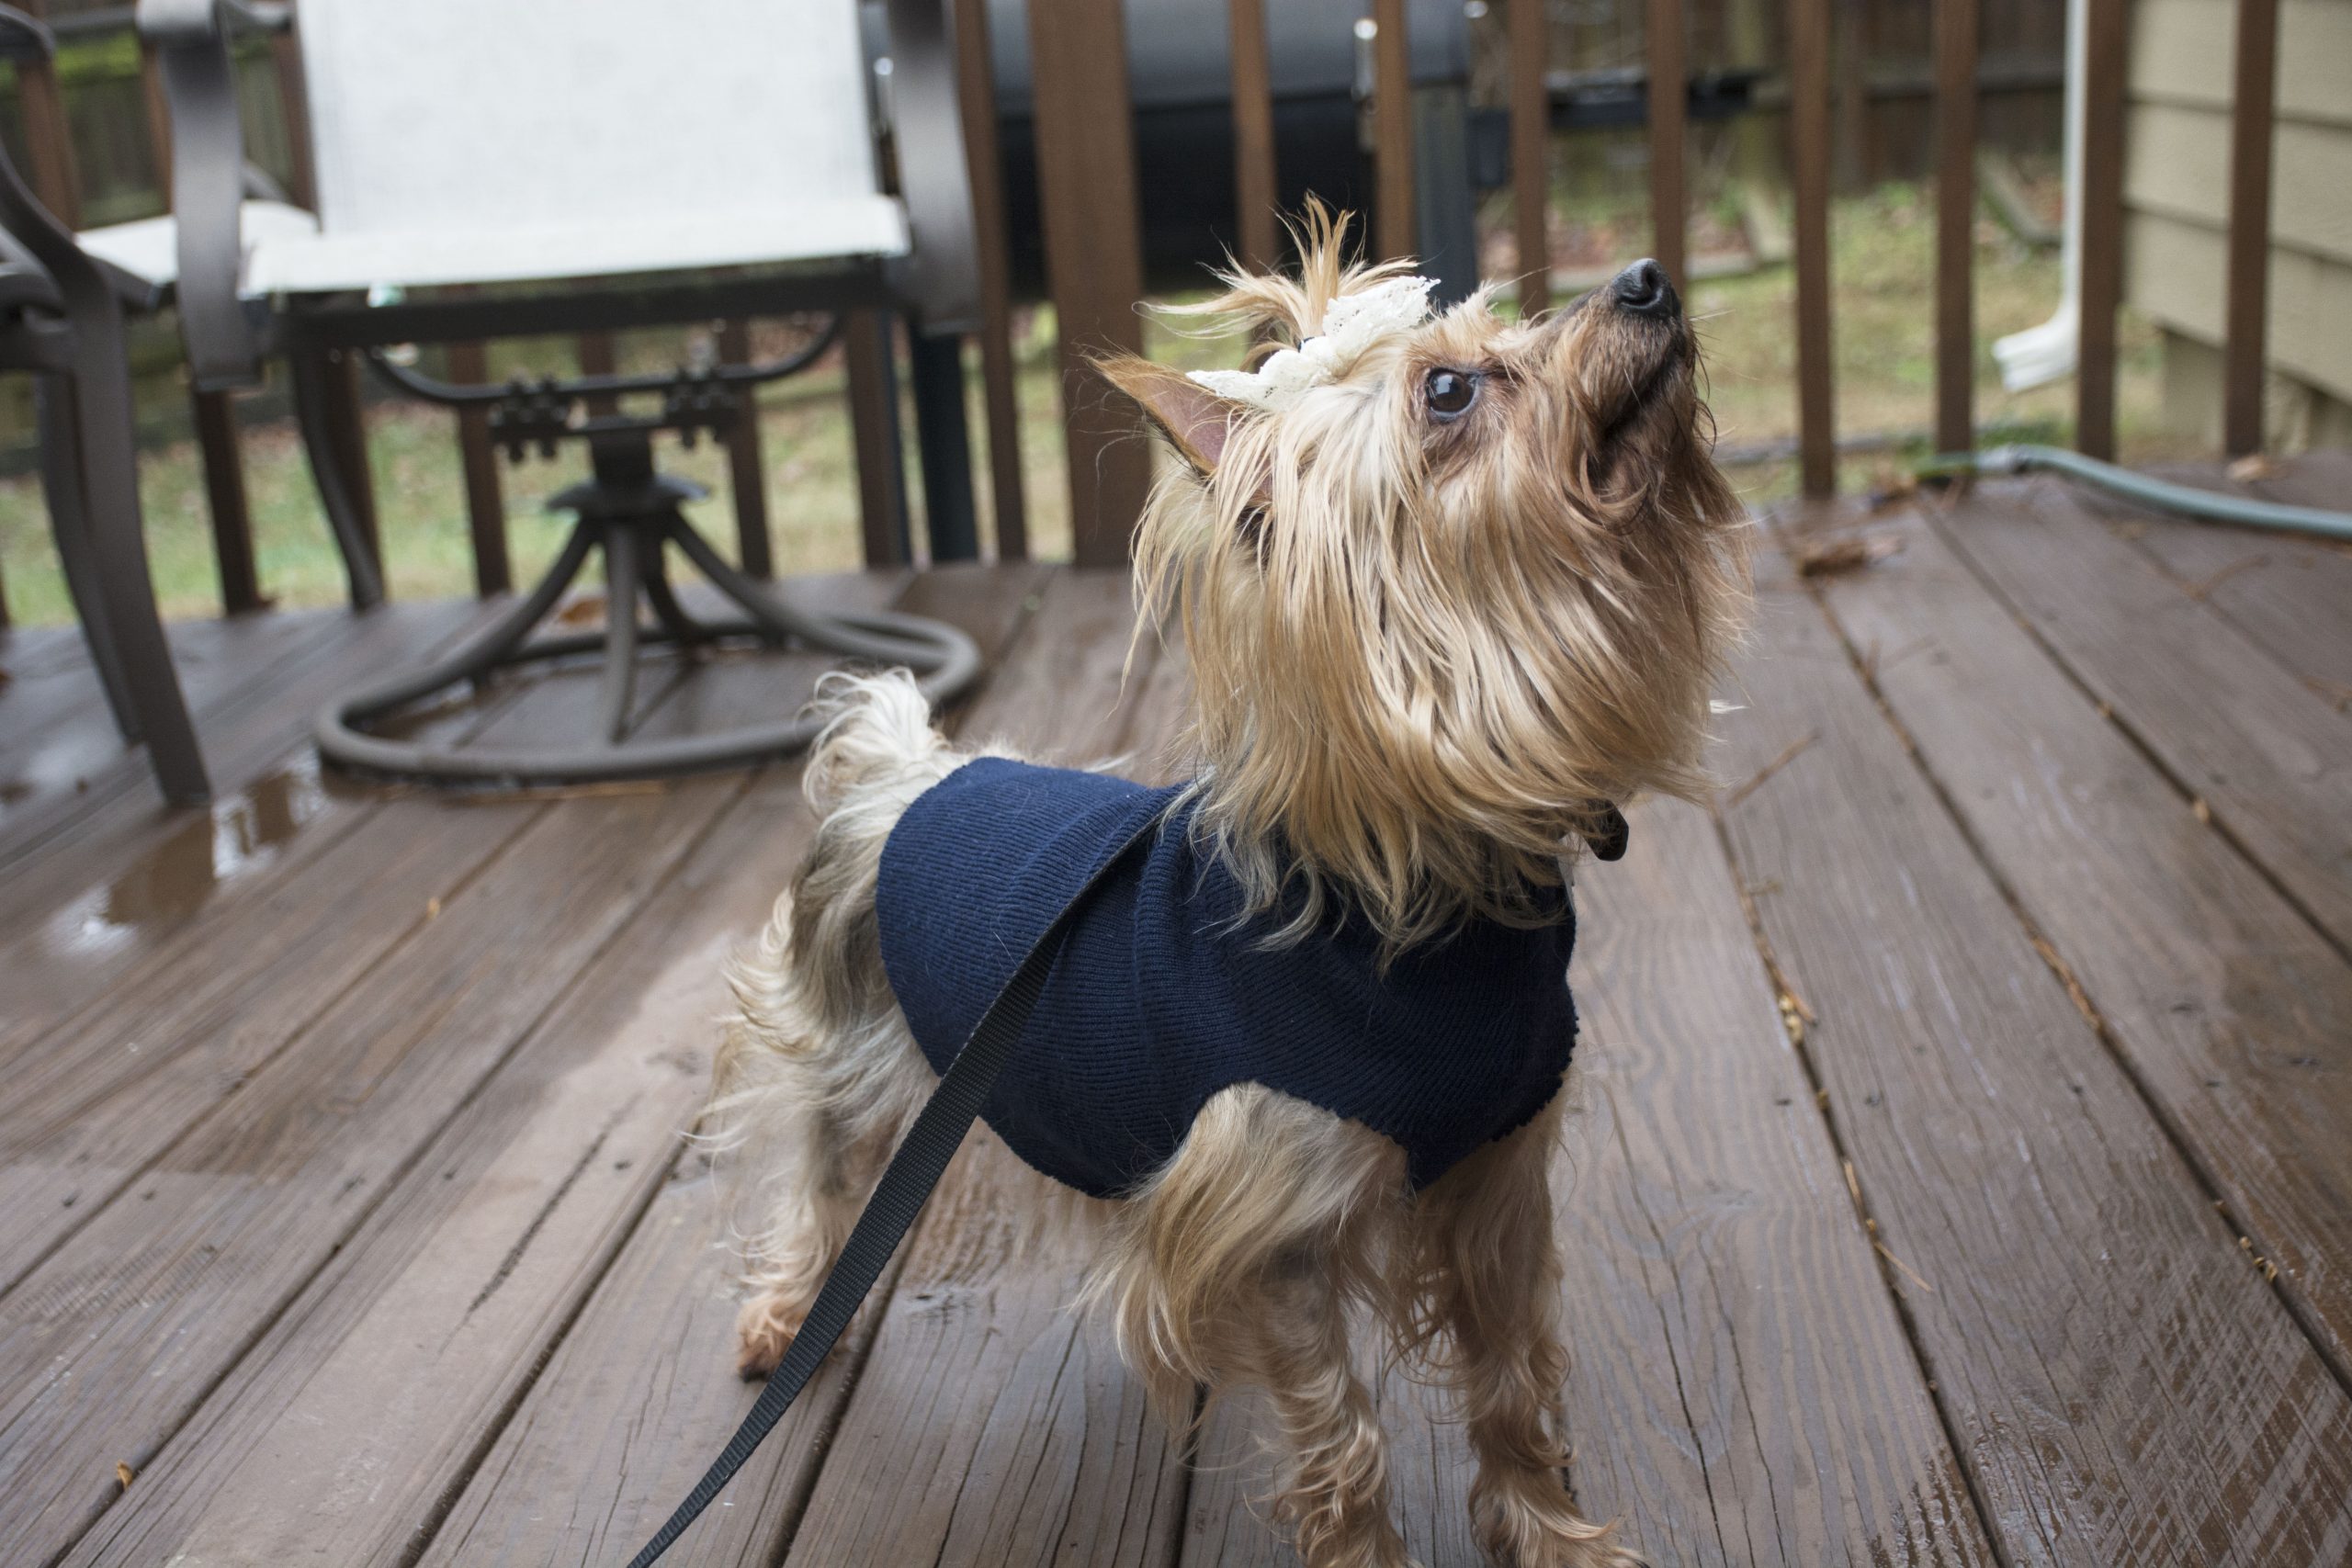
Photo by Jade Johnson | The Signal
Although the recent weather suggests otherwise in Georgia, it is still winter time and February might be brutal, so making your dog some soft and warm clothing items is a must.
From sweater to sweater: This DIY will take you less than 10 minutes and will keep your pup warm and comfy for much longer.
Items needed
- An unwanted sweater
- Scissors
- Measuring tape (optional)
Let’s Begin
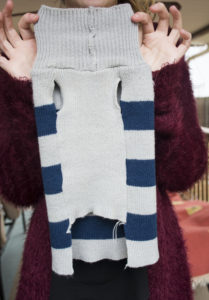
- Begin by laying out the sweater of your choice flat on the ground or a flat table. Make sure that the sleeves are spread out and flattened.
- Once you have done this, grab one of the sleeves and measure the width from top to bottom, the sleeve needs to be able to fit your dog’s chest, or at least be able to stretch enough. This is optional, you can eyeball the size if you think you know just how big it needs to be.
- Once you have measured the sleeve, grab the scissors and cut along the line that connects the sleeve and the rest of the sweater.
- Then, grab the scissors again and cut the end side of the sleeve that was just cut off into a wave shape, making the bottom half begin inward and then turning the path outward toward the middle until the end. The reason for this is so the sweater doesn’t get dirty when the dog needs to to go about it’s “business.”
- After this, cut a hole toward the bottom-middle part of the sleeve, this will be the holes for your dog’s arms. Make sure the holes are big enough if your dog has larger arms. The holes should be made all the ways through, not just one one side of the sleeve.
- The beginning of the sleeve will be the portion that goes around the neck of the dog. So if the part seems small to you, simply cut off littles sections until it gets larger.
Toy Time
Your dog deserves to always be entertained, but let’s be real, we are college students. We have basically sold our soul to school and work, and the little bit of it that we have left if we are lucky goes to social causes. So that’s falls under spending time with family, friends or the ultimate of the two combined, your dog.
 But when you can’t have that alone time together, he or she needs something to keep occupied with, so here are some DIY dog toys to make.
Mystery Tennis Ball: This DIY is incredibly simple and it’s as equally entertaining for you as it is for the pal that gets to play with it. You can put different treats inside the tennis ball, leaving a small bit open for the dog to smell the treat, and then watch as your dog battles head to head with the bouncy fiend.
Items Needed
- Tennis Ball
- Scissors
- Dog peanut butter or small dog treats
Let’s begin
- Grab the tennis ball and the scissors. Then, cut a one-inch hole along the ball.
- Once the hole is created, you can place treats in the ball (not small enough for them to fall out easily) or some dog peanut butter.
- Once that’s in, throw the ball to your dog and watch them fight to get those goodies, it’s pretty funny to watch.
The Prizes Popsicle: This one is not as much of a toy, then it is just a awesome method to house your dog’s toys. This giant popsicle is the greatest trick for those hot summer days, or for the weird and unexpected warm weather we’ve been having currently.
Items Needed
- A bucket (try not to go too big in size)
- Some of your dog’s toys (preferably ones you don’t mind getting wet)
- Chicken broth
- Water
Let’s Begin
- First grab the bucket and fill three-quarters of it with water.
- Then, grab the chicken broth and fill one-quarter of the bucket up with that.
- After both liquids are in the bucket, mix them week together.
- Then, you will take the toys and put them in the bucket. There’s no particular order, just go wild. Try to keep the toy number to a three to four maximum, depending on the size.
- Once all the toys are in the bucket, put the bucket in the freezer and let it freeze overnight.
- The next morning, take the bucket out and let it sit for five minutes to melt a tad along the sides of the bucket. After this, try squeezing the ice block out.
- When you have successfully done this, put the ice cube outside and let your dog go crazy. It will lick away at the chicken flavored ice, until it gets to its favorite toys.
Quick Bonus Creation
For those who want to pamper their dogs to the absolute max, this creation is sure to keep them smooth/soft and ready for the runway (sidewalk).
Paw Butter: This will keep your dog’s paws and nose very soft and smooth, and will keep away rough patches.
Items needed
- 2 tablespoons of Shea Butter
- 4 tablespoons of olive oil and coconut oil
- 1 teaspoon of Vitamin Evans oil
- 2 tablespoons of beeswax
Melt them in a small pot and mix! Then let it sit until it’s firm and voula! Rub it on the paws of the dog, and it can be kept on for as long as desired, it will likely rub off eventually with all the running dogs do!
